1. Open up two pictures, one of a human face, and another of an animal.

2. The photo above already shows the edited deer face, but for the sake of the blog I will do it again to show how I did it originally. First of all, I used the lasoo tool to select the section of Theo Walcott's face that I wanted to use.
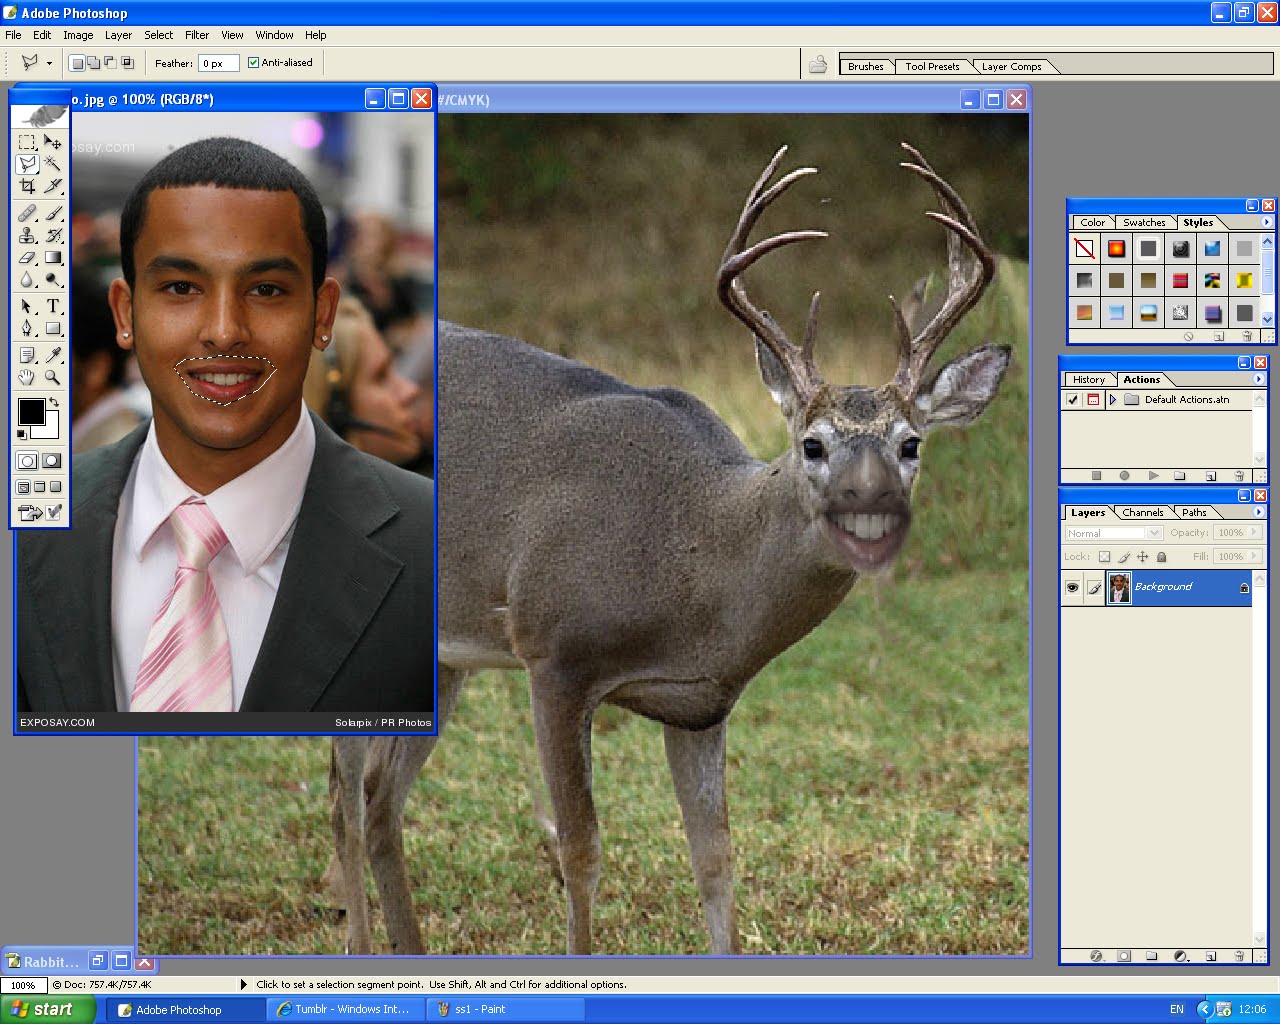
3. After selecting the right section I dragged the mouth over to the second picture (the deer) using the Move Tool.

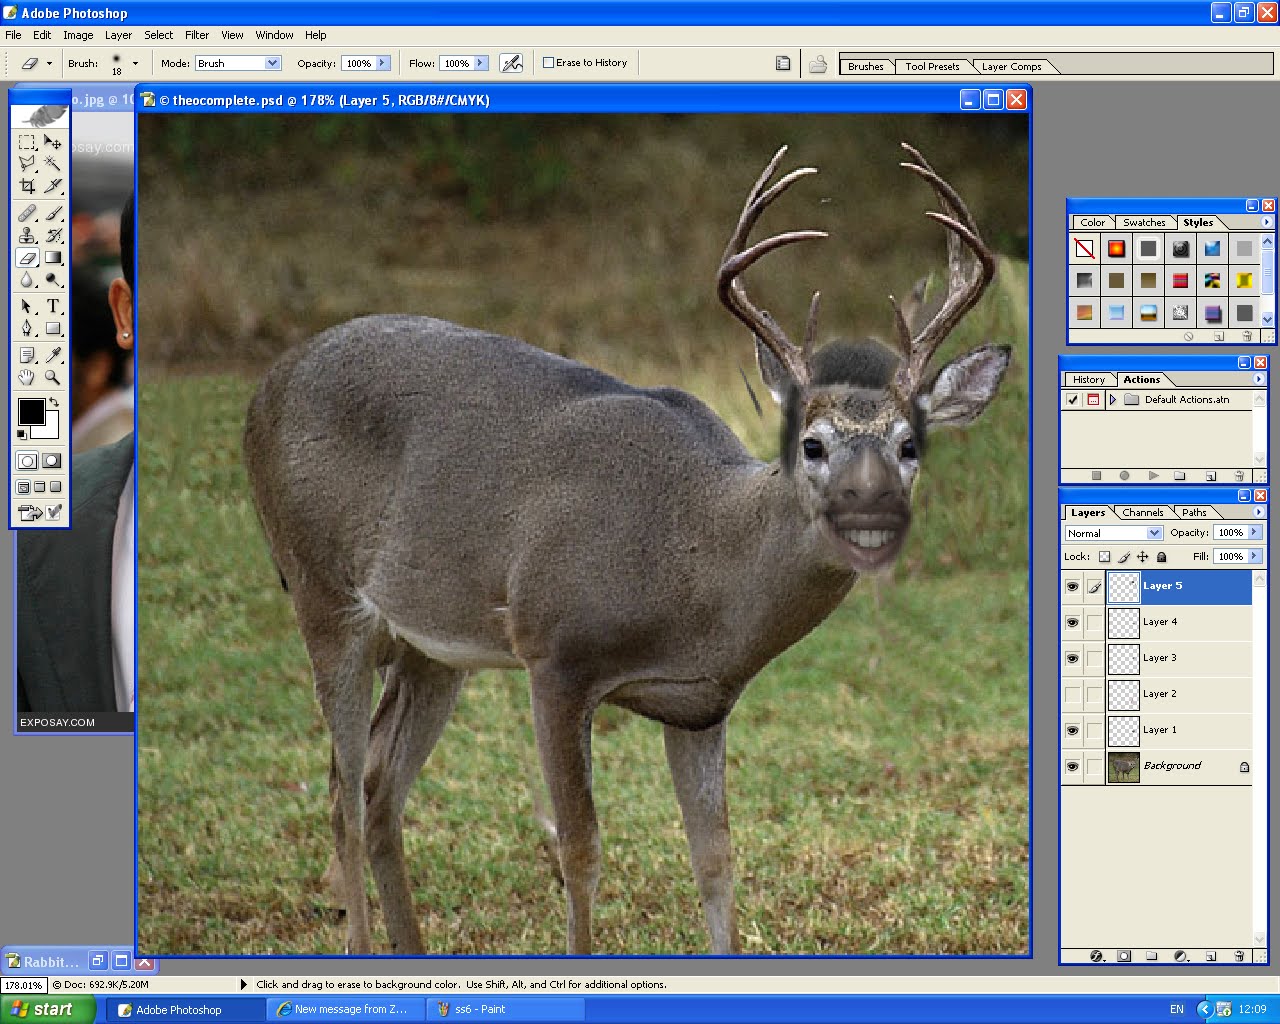
4. At this point the mouth didn't look right. So I went into Edit > Transform so that I could resize the mouth to fit the deer. I then edited the colour of it using saturation via the Image > Adjustments tab.

5. After I got the colour right, and the size, I clicked the tick to press the layer down. I then did exactly the same process to give the deer some hair then it was nearly complete.

6. Finally I used the erasor tool with quite a big feather effect to allow me to remove access image around the cut sections.
How easy was this process?
At the start, I had never used photoshop before at all, so it was all new and seemed pretty complicated but once I got a grasp of it, it was such an easy concept.
The biggest problem I had (which wasn't nothing major) was remembering to switch between the Marquee and the Move tool. The Marquee selects the region you want to use, and the Move tool moves the section over. Time and time again I kept trying to move sections with the Marquee tool, it was a silly mistake. Once I remembered to swtich cursors, it worked fine.
Also, switching between layers was a bit of a problem. I would often forget to switch layers and begin to erase the wrong section, but control+z would undo the wrong move and sort the problem quickly. I soon remembered I had to switch between layers and the process was a very easy one.
Below are the 4 animal faces I made.


No comments:
Post a Comment